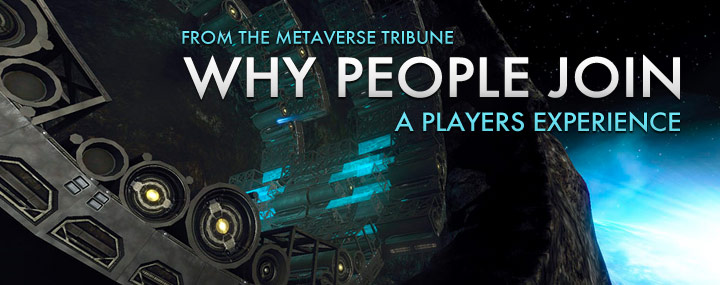
"I was staying away from Massively Multiplayer Online games because I knew that they can eat a lot of your free time. But all that changed for me on Saturday November 13, 2010..."
Posted in User Stories
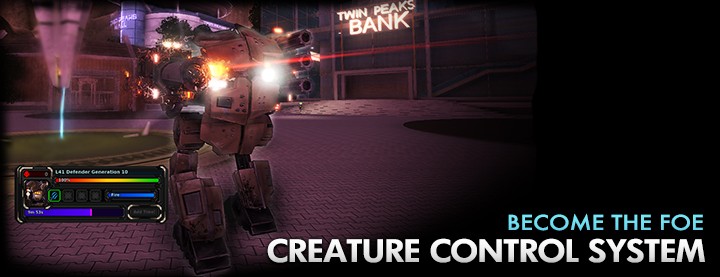
Beginners GuideCreature Control System
From release 14.9 it is possible to take the role of a ferocious creature or robot and start hunting other avatars! This is a new kind of Fun!
Posted in Beginners Guide
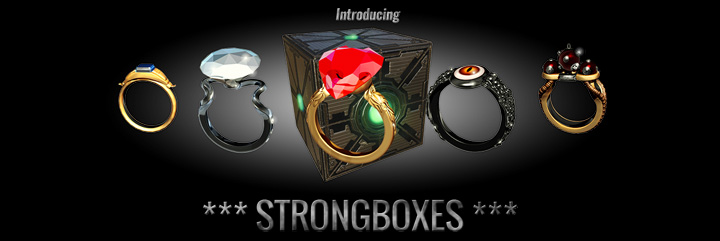
Entropia WebshopClassified Strongboxes
Classified Strongboxes contain unknown treasures, including some items never before seen in Entropia Universe. Feel the rush as you open your Classified Strongbox and reveal the treasures hidden inside!